A body transformation timeline turns months of scattered gym selfies into a visual story of your progress. You've been taking progress photos for months. Maybe you scroll back through your camera roll occasionally, squinting at thumbnails, trying to spot the difference between February and August. It's hard to see change when you're looking at photos one at a time. That's what the Timeline solves.
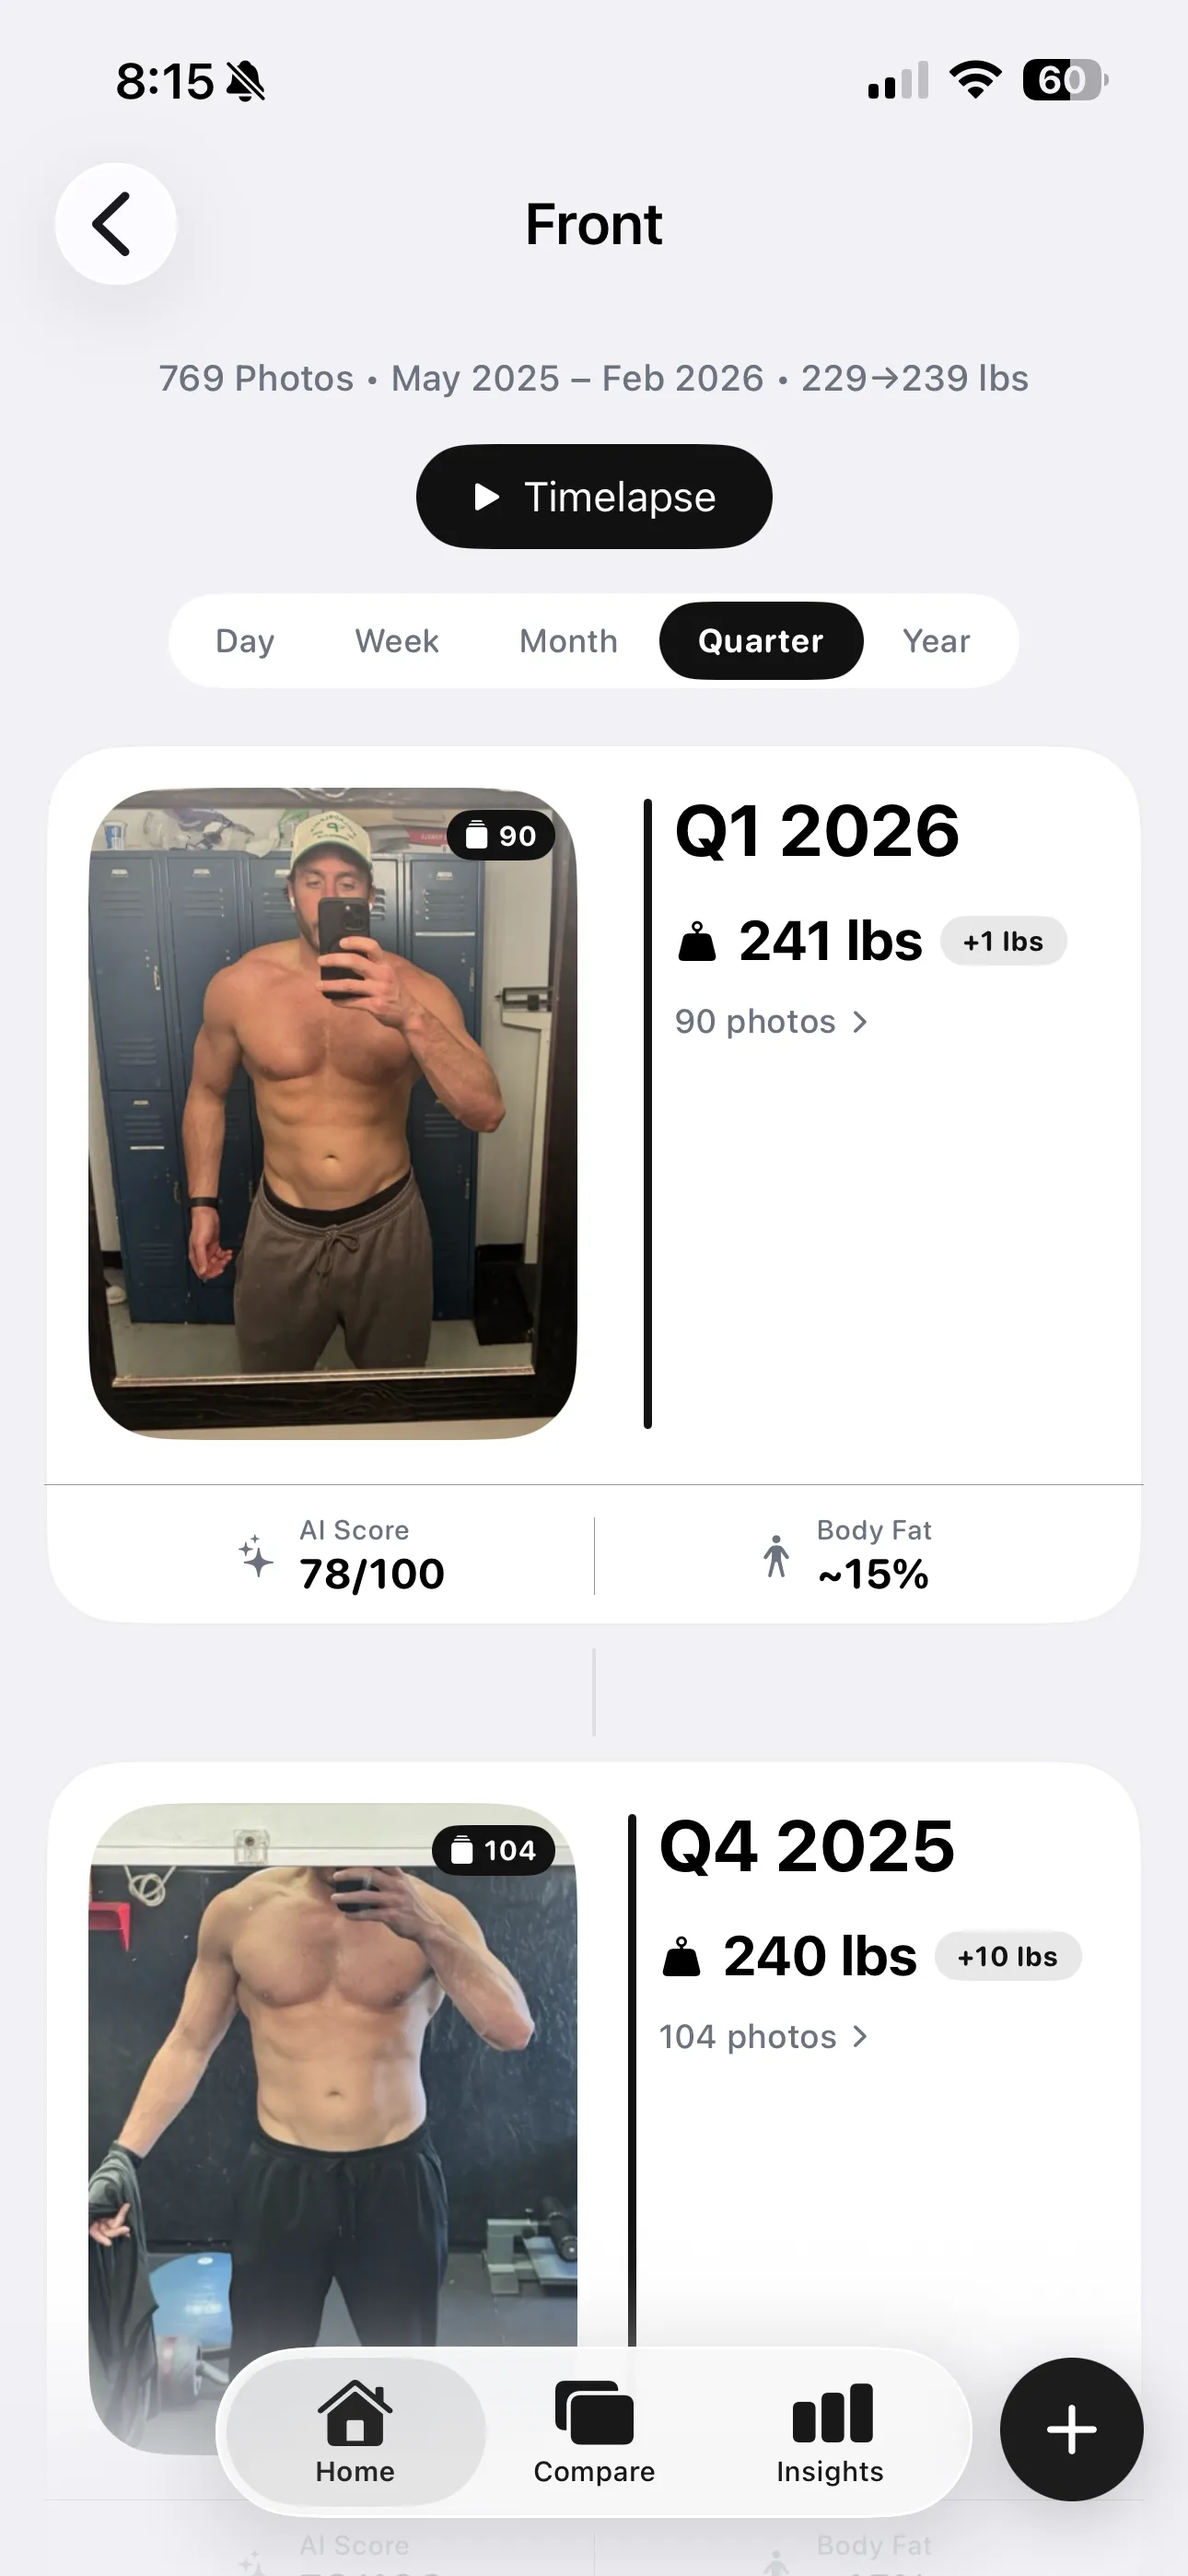
GainFrame's Timeline organizes every imported photo into a chronological, pose-filtered view with three zoom levels — Day, Month, and Quarter. Each entry shows the date, your AI physique score, and estimated body fat. You can see your entire transformation at a glance, or zoom into a specific day to compare individual shots.
Three views for your body transformation timeline
The Timeline isn't a single flat list. It's three distinct zoom levels, each designed for a different purpose:
Day View
Every individual photo, one per row. See exactly what you looked like on a specific date with the AI score and body fat percentage right next to it.
Month View
Monthly snapshots that condense your progress into a digestible overview. Great for spotting trends without drowning in individual entries.
Quarter View
The widest lens. See 3-month blocks side by side — perfect for tracking slow transformations that only become visible over longer windows.
The key insight: subtle changes that are invisible day-to-day become obvious at the quarterly level. You might not notice your shoulders widening over two weeks, but three months of photos side by side makes it unmistakable.
How the Timeline gets built
You don't have to manually organize anything. The Timeline builds itself from your imported photos:
- Import your photos. Select gym selfies from your camera roll — a few or a few thousand. GainFrame's batch import handles them all in the background.
- AI classifies by pose. Each photo is automatically tagged as Front, Back, Side, Front Flexed, or your custom templates. The Timeline filters by pose, so you're always comparing like-to-like.
- Chronological sorting. Photos are ordered by the date they were taken (from EXIF data), not when you imported them. Import photos from last year and they slot into the right place automatically.
- AI scores every entry. Each timeline entry shows your GainFrame Physique Score and estimated body fat percentage — so you can see the numbers changing alongside the visuals.
The result: a ready-made transformation timeline that might go back months or years, depending on how many gym photos are in your camera roll.
Transformation timeline videos: your progress in motion
Static photos show you snapshots. But a timeline video shows the full arc of your transformation as a smooth, morphing sequence — cycling through your progress photos in chronological order.
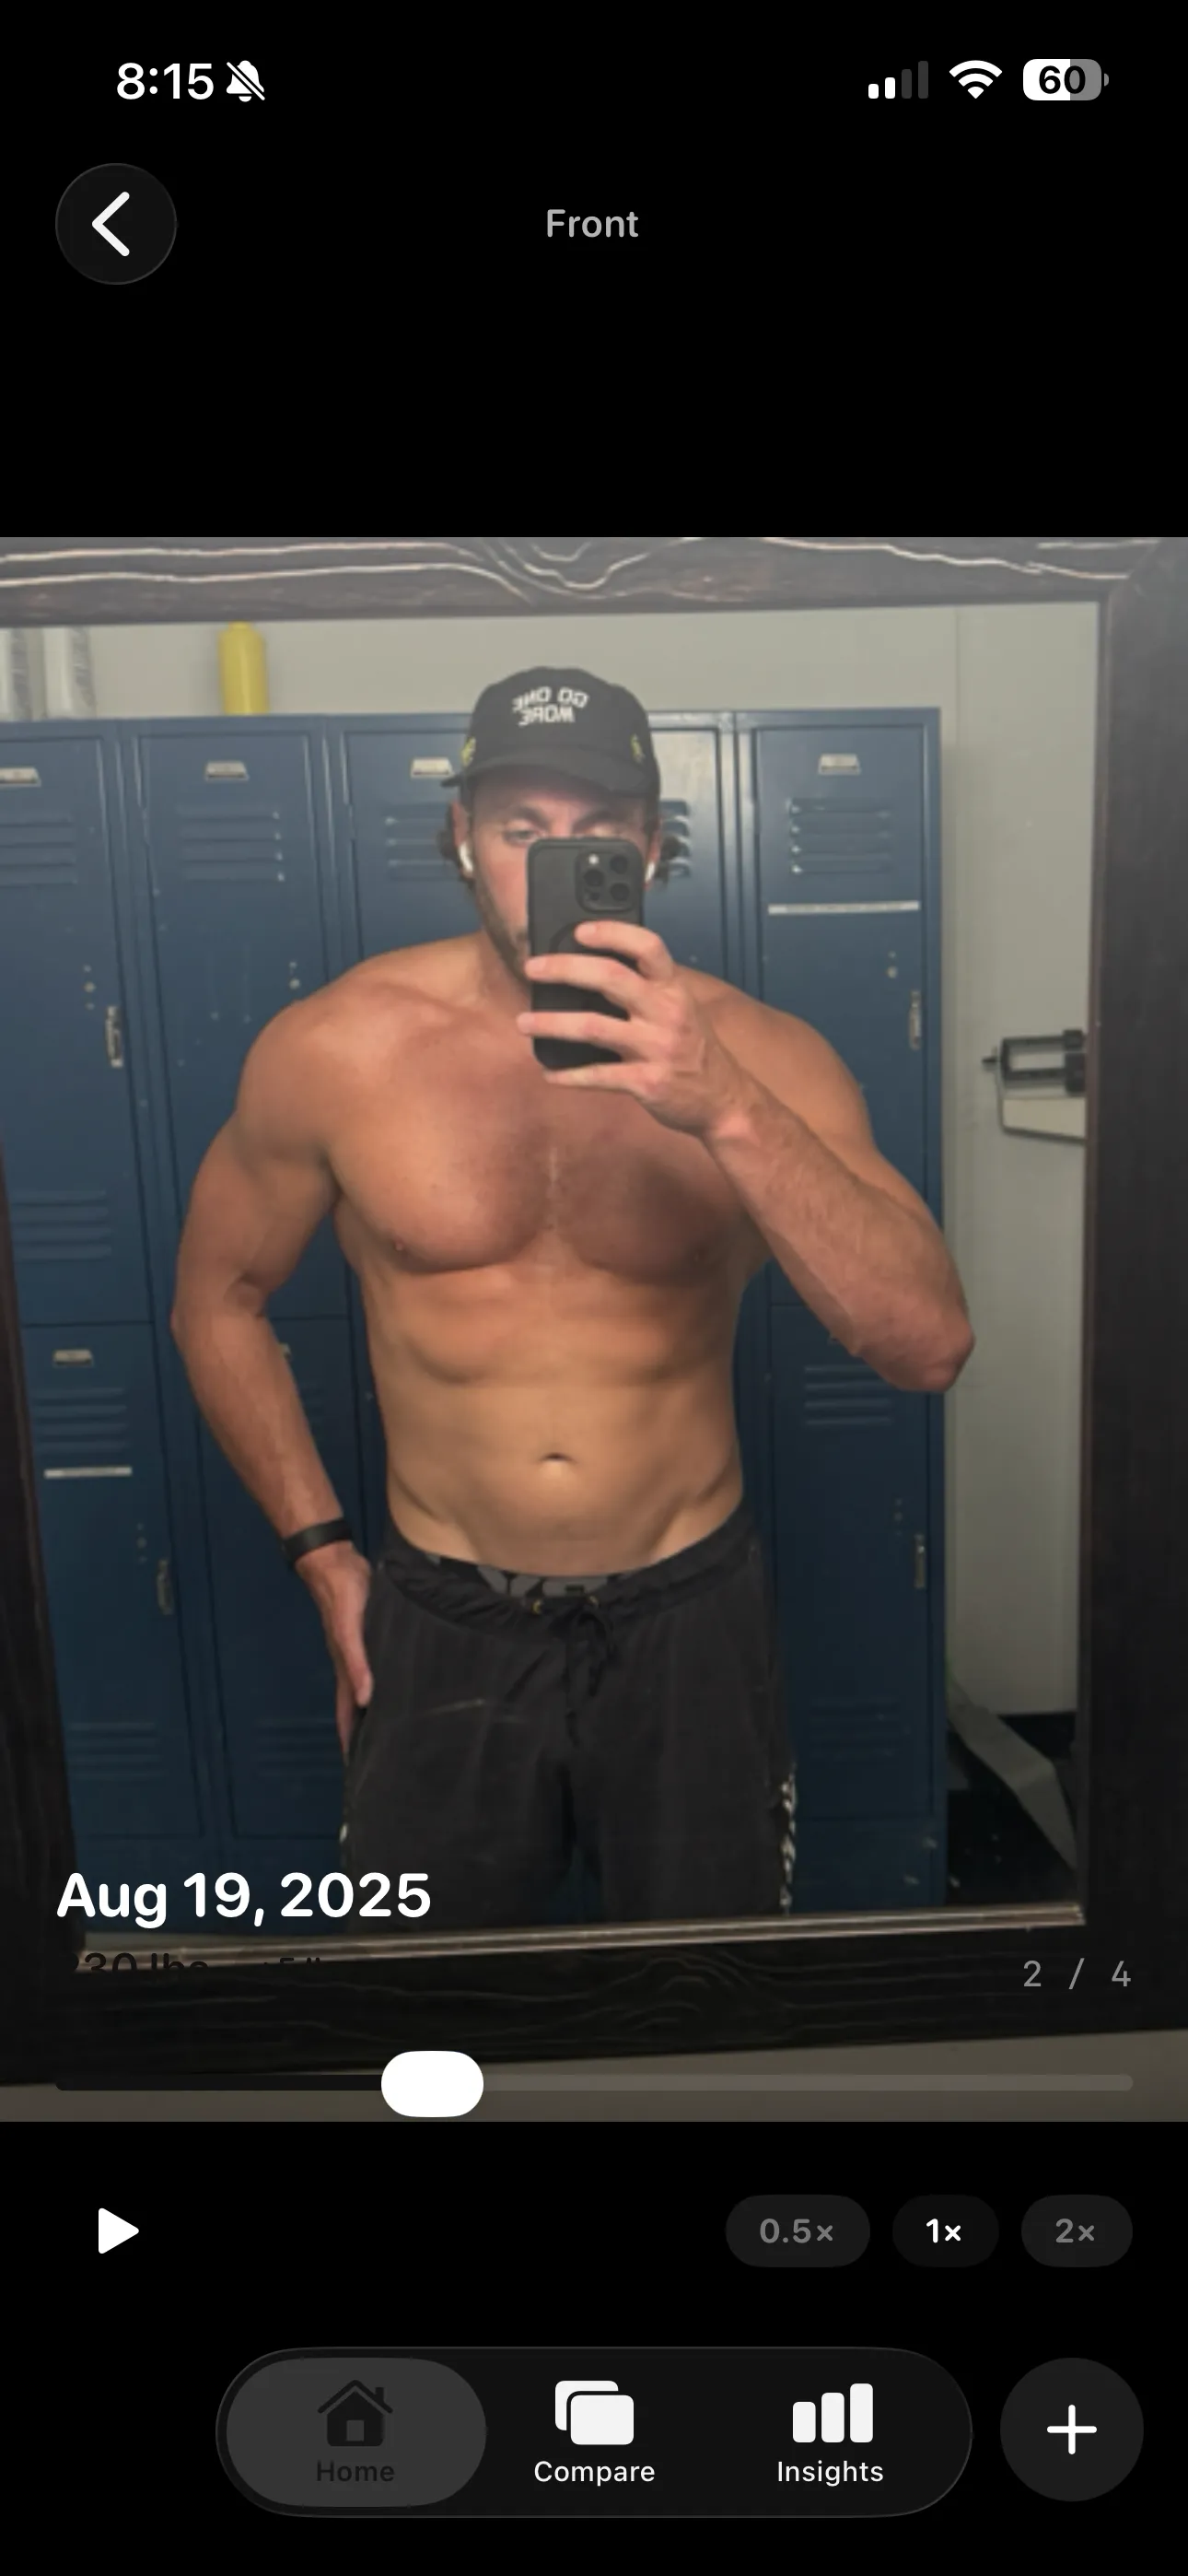
GainFrame generates these videos automatically from your timeline. Select a pose, choose a date range, and the app stitches your photos into a looping video with smooth transitions between frames. The visual effect is striking — you can watch your shoulders widen, your midsection tighten, and your overall physique evolve frame by frame.
Timeline videos are the single most shareable piece of content GainFrame produces. A 10-second clip of your 6-month transformation is more compelling than any individual comparison photo.
These videos are perfect for sharing on Instagram Stories, TikTok, or sending to your training partner. They're exported at high resolution with the GainFrame watermark, so people know where it came from.
Getting the most out of your Timeline
A few habits that make your Timeline dramatically more useful:
- Import everything. Don't cherry-pick. Import all your gym photos — even the bad ones. The AI filters out non-body photos automatically, and more data points means a richer timeline.
- Stick to 2–3 poses. Front relaxed and back relaxed cover the most ground. The Timeline is filtered by pose, so consistency here directly translates to a cleaner visual story.
- Use the Quarter view for motivation. When daily weigh-ins and weekly comparisons feel discouraging, zoom out to quarters. The long-term trend is almost always more positive than you think.
- Generate a video every few months. Set a reminder. The transformation video gets more impressive with every batch of new photos you add.
Start your timeline
Import your gym photos. Let the AI organize and score them. Then switch to Timeline view and see your transformation unfold — day by day, month by month, quarter by quarter.
Your progress is already in your camera roll. The body transformation timeline just makes it visible. Check out our tips for better progress photos to get the most out of every shot, or learn about how the AI body composition analysis works.