The problem with progress photos when you live alone
Almost every progress photo guide on the internet was written by someone with a partner. "Have someone hold the camera at chest height." "Step back six feet and have your friend snap three angles." Cool — what if you live alone, work from home, and the only camera operator in the building is your cat?
The default fallback is a bathroom mirror selfie. It's also the worst possible setup. Mirrors flip your symmetry, the phone in your hand cuts your line, the lens distorts at close range, and bathroom lighting is the most flattering-then-unflattering trick in photography. Half the time you can't tell whether you actually changed or your old photo just had better light.
The friction is what kills consistency. Most people quit progress photos inside two weeks because the setup feels like a chore. The fix isn't more gear — it's a repeatable spot you can hit in under a minute.
Below are the four solo-photo options that actually work, ranked by how often you'll genuinely use them. The first three are free. The fourth is what we built when we got tired of the first three.
The 4 solo options, ranked by how consistent they make you
Option 1: Camera timer + propped phone (the analog approach)
Cost: Free
Works on: Any phone, any platform
The classic move. Open your phone's built-in Camera app, set the timer to 10 seconds, hit the shutter, walk to your spot, hit the pose, hold it until the click.
Setup is dead simple. Stack three to five hardcover books on a chair, dresser, or kitchen counter. Lean the phone against the books in portrait orientation, lens facing your spot. The book stack gets the lens to roughly chest height, which matters more than people realize — phones at floor level make your legs look like tree trunks and your head look like an apple.
Pros: No app to download, no tripod, no setup beyond books. Works on a 2014 iPhone or a current-gen Pixel. Free.
Cons: Repeating the exact same camera position week to week is hard — the phone slides, the books shift, and after a month you realize half your photos are taken from slightly different distances. You burn 30+ seconds per photo (timer countdown, walk over, pose, walk back, review, retake). Reviewing the result means walking back to the phone, which interrupts the flow.
Best for: People taking one photo a month who don't want any tools or apps in the loop. If you're tracking something low-frequency like a 12-week before/after, this is fine.
Option 2: Live Photo + frame picker (iPhone-only forgiveness mode)
Cost: Free
Works on: iPhone (Live Photos is iOS-only)
The underrated iPhone trick. Live Photos record 1.5 seconds before and after the shutter — about three seconds of footage total. That gives you a full window of frames to choose from instead of one snapped instant.
The workflow: prop the phone on books like Option 1, but skip the timer. Hit the shutter button (or press the volume key to fire from the side), walk to your spot during the three-second window, hit your pose, hold for a beat. The Live Photo captures the entire walk-and-settle. Open it in Apple Photos, tap Edit, scrub the frame slider, find the cleanest moment, and tap "Make Key Photo."
This solves the timer problem. You're not racing to hit a pose before a click — you're walking into a window and the right frame is somewhere in there. Even if you flubbed the first second, the back half of the Live Photo usually has what you want.
Pros: No timer to fight. Forgiving — you don't have to nail the moment exactly. Frame selection happens after the fact, so you keep the take that actually looked best. Works one-handed.
Cons: iPhone only. Each Live Photo eats roughly 3MB versus 1.5MB for a still — over a year of weekly check-ins that's an extra ~75MB of storage. You still need a phone stand of some kind.
Best for: iPhone users who hate fighting a 10-second countdown and want flexibility on which frame they keep.
Option 3: Video → screenshot (the perfectionist's move)
Cost: Free
Works on: Any phone
The most flexible of the analog options. Open the Camera, switch to Video, hit record. Walk to your spot, hold the pose for five solid seconds, walk back, stop the recording. Open the video, scrub the timeline frame by frame, and screenshot the exact moment your form looked cleanest.
This is the option that gives you maximum control. Live Photo gives you three seconds of options; a video gives you as many as you want. If you want a flexed photo where the squeeze peaked exactly right, you can scrub through and find the literal best frame.
Pros: Pick the EXACT moment your pose was best. Works on any phone — Android, iPhone, anything with a video mode. No timer pressure at all.
Cons: More steps than the other options — record, stop, scrub, screenshot, save, optionally delete the video. A 10-second 4K video eats around 50-80MB versus 3MB for a Live Photo or 1.5MB for a still. You still need a phone stand.
Best for: Detail-oriented people who want a perfect single frame and don't mind the extra editing step. Photographers, lifters who care about exact pose timing, or anyone whose Live Photo workflow keeps catching them mid-blink.
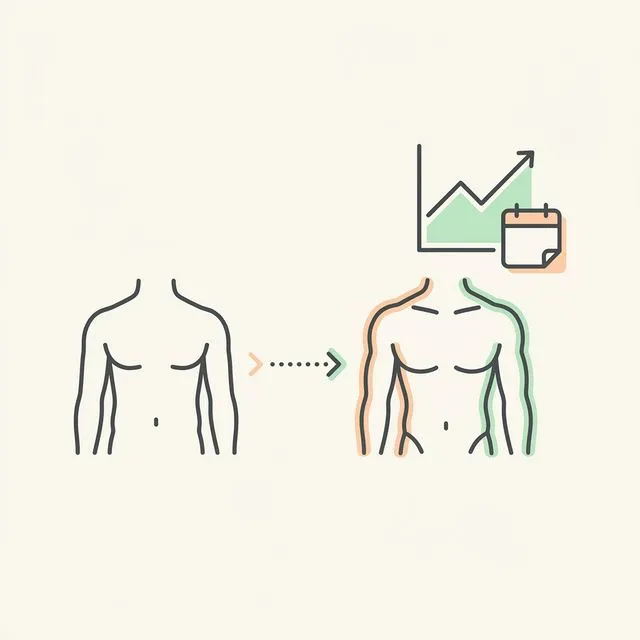
Option 4: App-based auto-capture (GainFrame Guided Recording)
Cost: Free tier with 25 photos lifetime, $4.99/mo for unlimited
Works on: iPhone
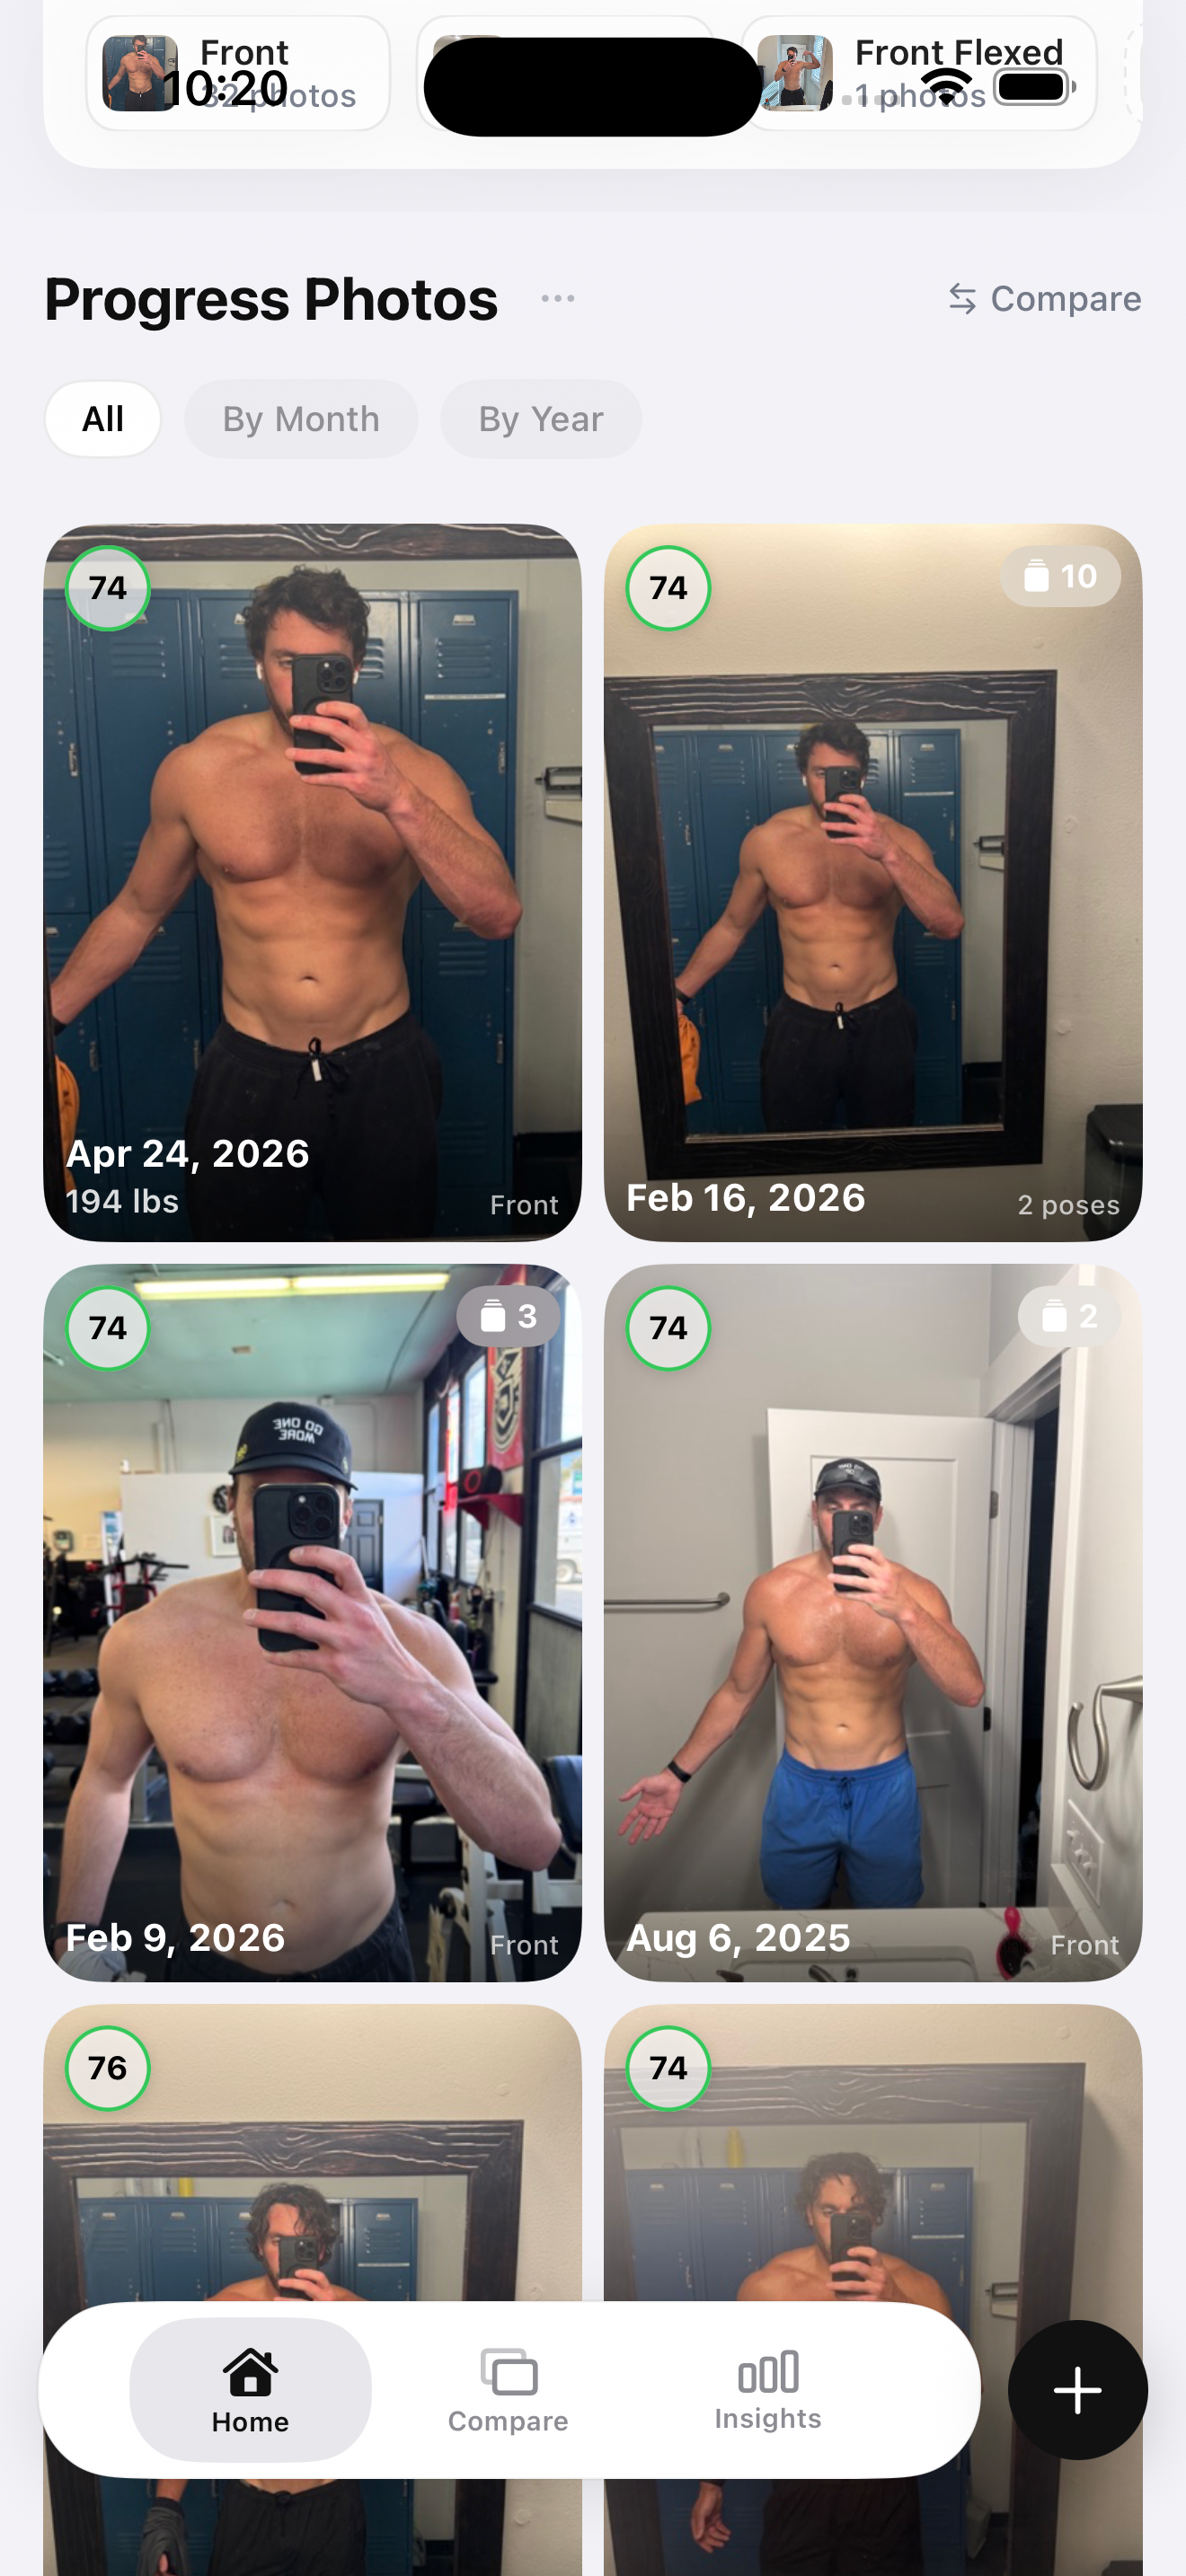
If the first three options have a common bottleneck, it's repeatability. The phone position drifts. The pose timing varies. The lighting shifts because you took the last one at 6pm and this one at 9am. GainFrame's Guided Recording was built specifically to solve that drift.
The setup is the same — phone on books, six feet away, chest height. The difference is what happens after you tap check-in. The app walks you through poses verbally ("turn to your left side, arms relaxed"), watches the camera frame to detect when your body is fully in shot, and captures automatically the moment you're aligned. Then it auto-aligns the new photo with your last check-in's pose, so the comparison view actually compares the same body position from the same camera angle.
That alignment is the part you can't replicate manually. You can mark the floor with tape and prop the phone the same way every time, but you cannot, by eyeball, reproduce the exact same chest angle and shoulder rotation week after week. The auto-alignment crops, rotates, and scales each new photo to match the reference photo, so what you see in the comparison view is real change — not pose variance.
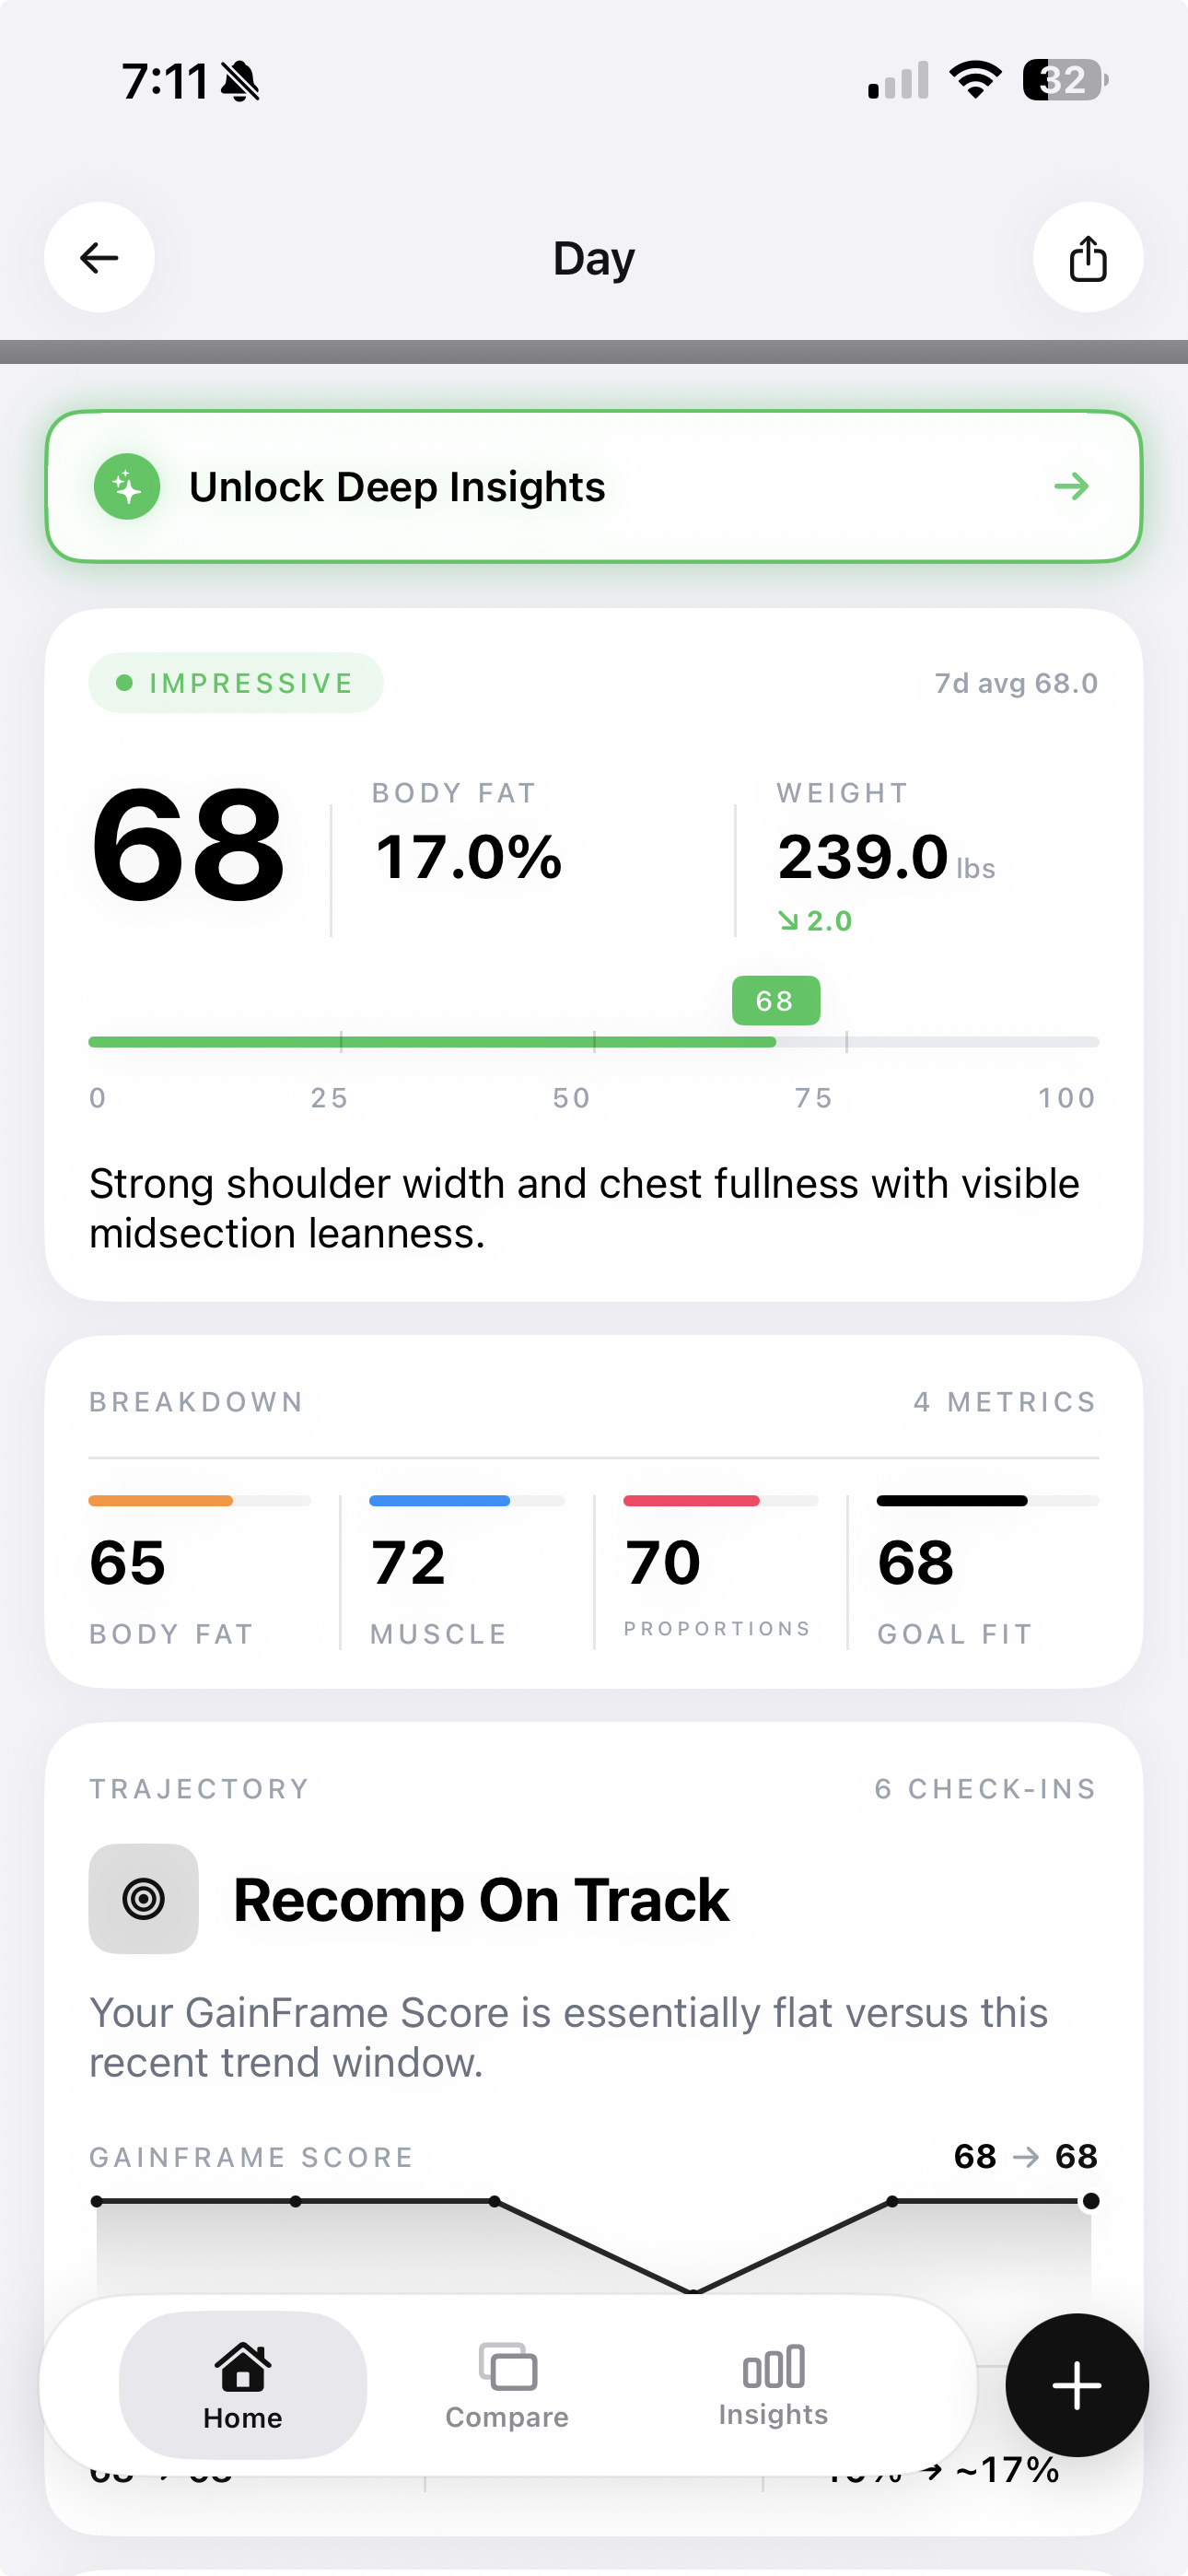
The other thing that happens after the photo is the body composition layer. Each check-in gets a body fat estimate, lean mass reading, and per-muscle scoring across 12 body areas, and writes the headline numbers to Apple Health. So the photo itself is one piece — the rest of the data lives on top of it.
Pros: Zero friction. No timer, no countdown, no scrubbing. Auto-alignment beats every other method for week-to-week comparison. The capture is hands-free once the phone is propped.
Cons: iPhone only. Free tier capped at 25 photos lifetime; full features are subscription. You're trusting an app where the first three options are pure built-in iOS.
Best for: Anyone tracking weekly check-ins seriously, especially if you've already tried the manual options and watched yourself quit after a month.
The 5-minute setup that fits any room
Whichever option you pick, the physical setup is the same. Spend five minutes locking it in once and the rest of the year you're just stepping into a spot you already trust.
- Pick the spot. Find a wall opposite a window, no clutter behind you. Hallways often work better than bedrooms — they're less cluttered and the light is more even. Living-room corners with one clear wall and one window also work.
- Mark the floor with tape. Put two short strips of painter's tape where your feet go. This is the single most underrated move in solo photography. Without it, you'll stand six inches closer next week without realizing, and the difference will read as "I lost size" or "I gained size" depending on the direction.
- Set the camera position. Phone at chest height, six feet away. A stack of books on a dresser hits chest height for most people; a kitchen counter works too. Six feet is the sweet spot — close enough to fill the frame, far enough that the lens doesn't distort.
- Get the lighting right. Face the window. Daylight should land flat across your front. Avoid overhead ceiling lights — they cast shadows that fake out the muscle definition you're trying to track. If the only window faces away from your spot, take the photo earlier or later in the day when the light is softer.
- Lock the outfit. Same shorts, same fit. For women, a sports bra or fitted tank. The point is comparison — anything that varies week to week becomes noise.
- Lock the time. Morning, post-bathroom, pre-meal, pre-workout. That's when your body looks cleanest and most repeatable. A photo at 9pm after dinner is a different body than a photo at 7am — not in any real sense, but in how you'll look in it.
That's the whole setup. Tape on the floor, books on the dresser, window in front, same outfit, same time. Once it's in place, the actual photo takes 30 seconds.
Common solo-photo mistakes (and the fixes)
The same five mistakes show up in basically every solo progress photo we see. Here's what causes them and how to fix each.
Mirror selfie warping
The phone-in-hand bathroom mirror selfie is the worst-case version of every problem. The mirror flips left and right, so your symmetry comparisons across weeks are wrong. The phone in your hand covers your midsection. The lens at close range distorts your proportions. Fix: use a real camera setup, not a mirror. Even a phone propped on books gives you a true-perspective shot the mirror selfie cannot.
Floor angle / shoe angle
If your photo is showing the tops of your shoes and tilting up at your face like a dramatic movie shot, the phone is too low. Fix: raise the phone to chest height. Stack more books, use a higher shelf, prop it on the kitchen counter. Chest height is the rule.
Different camera distance each week
Without a fixed mark, you'll stand a foot closer or further every time and not notice — until your "before" and "after" photos are at different scales and the comparison is junk. Fix: tape on the floor. Two strips for your feet. Don't move them.
Bathroom lighting
Bathrooms have overhead vanity lights designed to flatter — they cast shadows that hide and reveal the wrong things, and they vary based on bulb age and bulb color. Fix: move out of the bathroom entirely. Window light wins every time. Even a cloudy day through a window beats the most expensive bathroom fixtures.
Looking at the screen instead of the lens
If you're using the timer and watching yourself in the preview, you're looking down and to the side — not at the camera. The result is a photo of someone glancing at their phone, not a photo of someone standing naturally. Fix: when the timer is running, look directly at the lens. Treat the lens as the audience.
Quick checklist (printable)
Run this list before every check-in. Once it's habitual, the photo takes under a minute.
- Same time of day, post-bathroom, pre-meal, pre-workout
- Same outfit (form-fitting, minimal)
- Same spot — feet on the tape marks
- Same camera height — chest level on a propped phone
- Window light, never overhead
- Three angles: front relaxed, side, back relaxed (and front flexed if you're tracking muscle)
The hardest part of solo progress photos isn't the camera — it's repeating the exact same setup week after week without drift. Tape on the floor solves half of it. An app that auto-aligns the rest solves the other half.
Tired of fighting the same setup every week? GainFrame captures hands-free.
Prop the phone on books, tap check-in, and Guided Recording walks you through every pose and captures automatically when you're aligned. Auto-alignment then matches each new photo to your last one so the comparison is real change, not pose variance. Free tier includes 25 photos.
Download GainFrame Free